Applications
The air-coupled ultrasonic inspection technology (ACUT) allows an examination of a wide variety of different materials. This includes, in particular:
- Composites (even during hardening)
- Sandwich structures
- Ceramics
- Metals
- Fireproof bricks
- Mineral building materials, concretes
- Wood
- Foams
- Food and pharmaceutical products
Figure 1 illustrates the resolution of our USPC 4000 AirTech with an AirTech 300-T/AirTech 300-R probe pair using a 5.3 mm thick CFRP plate with flat bottom holes of different diameters.
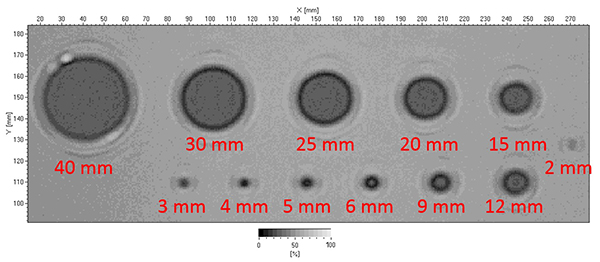
Fig. 1: Typical resolution with our AirTech 300-T/AirTech 300-R probes (300 kHz).
The air-coupled ultrasonic inspection technique can be used in particular to examine materials and structures which are not allowed to be moistened with a coupling medium like water. This applies, for example, to foams or sandwich structures into which water can penetrate and cause damage. Figure 2 shows the ACUT inspection result of a sandwich component with an impact damage.
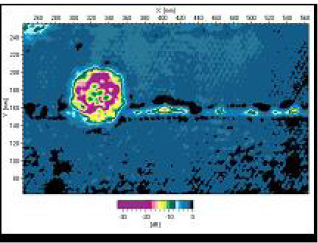
Fig. 2: C-scan of a sandwich component with impact damage, recorded with our USPC 4000 AirTech system.
For complex shaped components, robot-assisted ultrasonic investigations with air coupling is a proven and time-efficient method for quality assurance. Even large aerospace structures can be examined with this technology. Figure 3 shows the C-scan result of an Airbus Helicopter EC145 tail boom as an example.
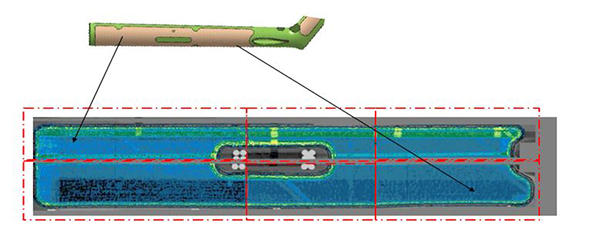
Fig. 3: C-scan result of an Airbus Helicopter EC145 Tailboom
An innovation of the Hillger NDT is our air-coupled ultrasonic inspection technology with one-sided access. The new method extends the applicability of air-coupled investigations to components that could previously only be examined manually or with squirter technology due to their difficult accessibility. Figure 4 shows exemplary results for a 3.9 mm thick stringer-stiffened CFRP plate. Various flat-bottom holes as well as an impact damage are introduced as artificial defects. All our inspection systems with air coupling can be extended for this new technique.
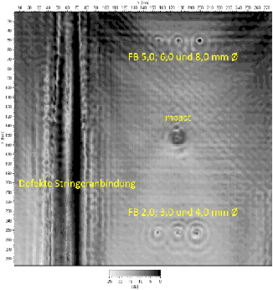
Fig. 4: C-scan of a 3.9 mm thick stringer-stiffened CFRP plate with flat-bottom holes and impact as artificial defects, investigated with one-sided access.
In addition to material investigations, the characterization of the probes themselves is an important application of air-coupled ultrasonic inspection technology. To evaluate the amplitude and the spectrum, a stationary setup with a transmission arrangement according to Figure 5 can be used. Signs of aging or damages of the probes can be identified and evaluated.
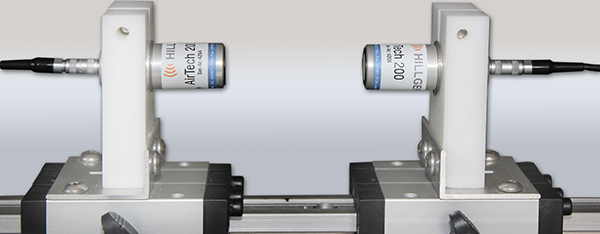
Fig. 5: Setup for the characterisation of AirTech probes


